One of the most useful features of having a page on Facebook for your business or organisation is to be able to promote any upcoming events. To do this, you first need to add an event tab to your Facebook page and this post will take you through the process. The second step of how to create and promote an event on Facebook will be covered in another blog post.
You must first have a Facebook page to do this, if you don’t yet have one, this blog post shows you how to create a page on facebook.
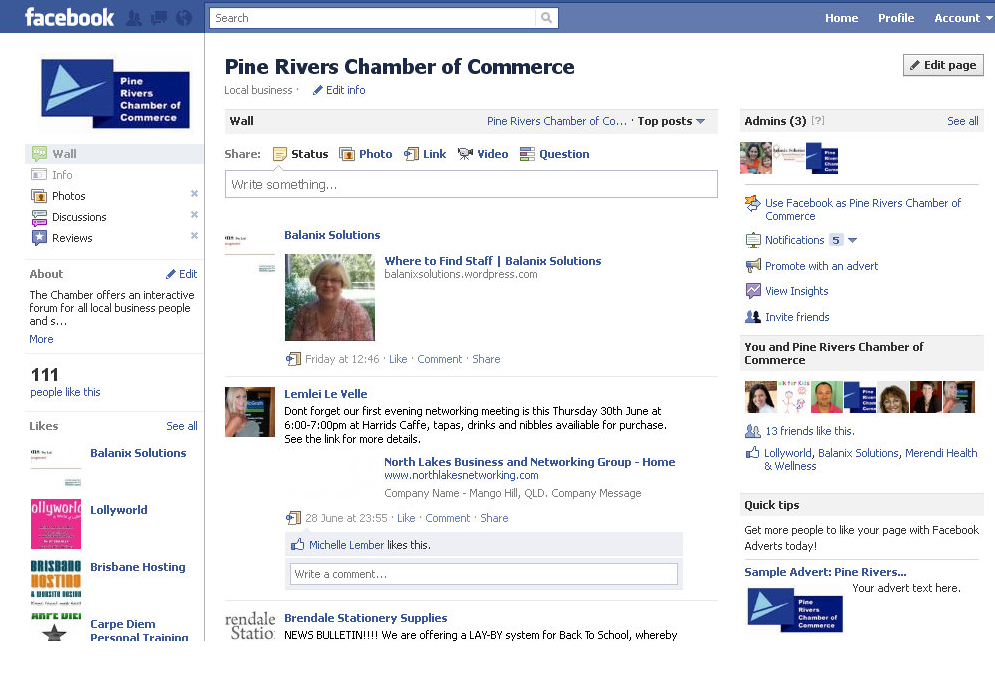
1. Go to your page and click on “edit page” in the top right hand corner.
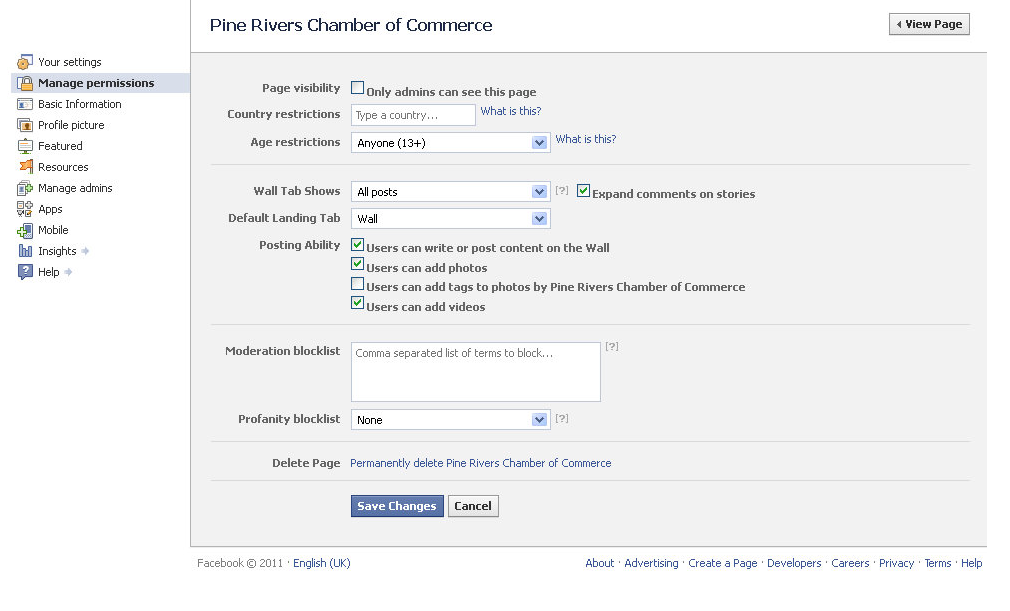
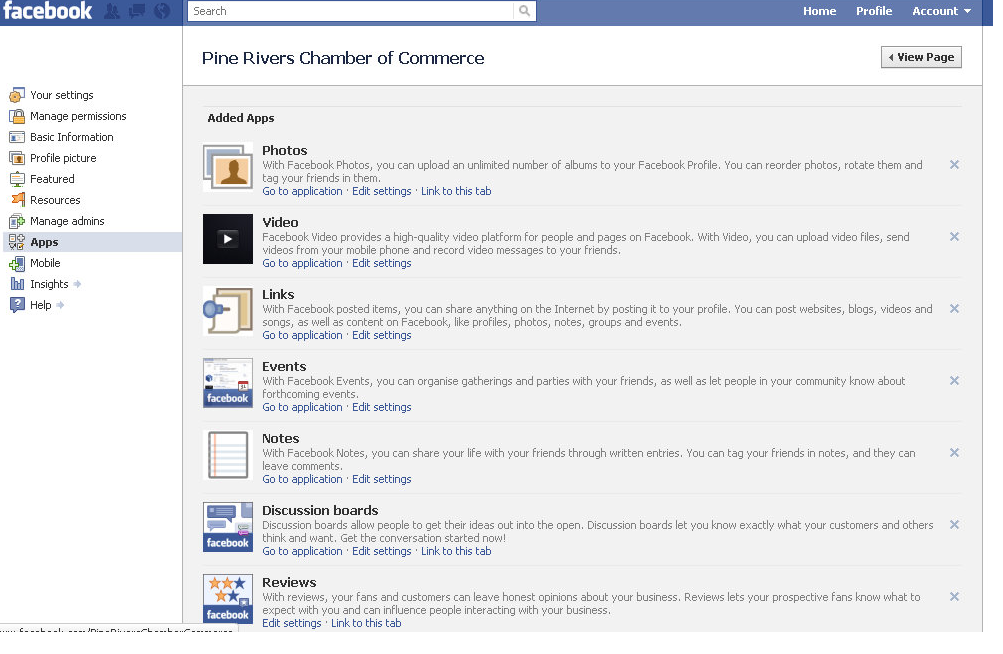
2. This should display the screen below to manage your page. Click on the “Apps” tab on the left hand side.
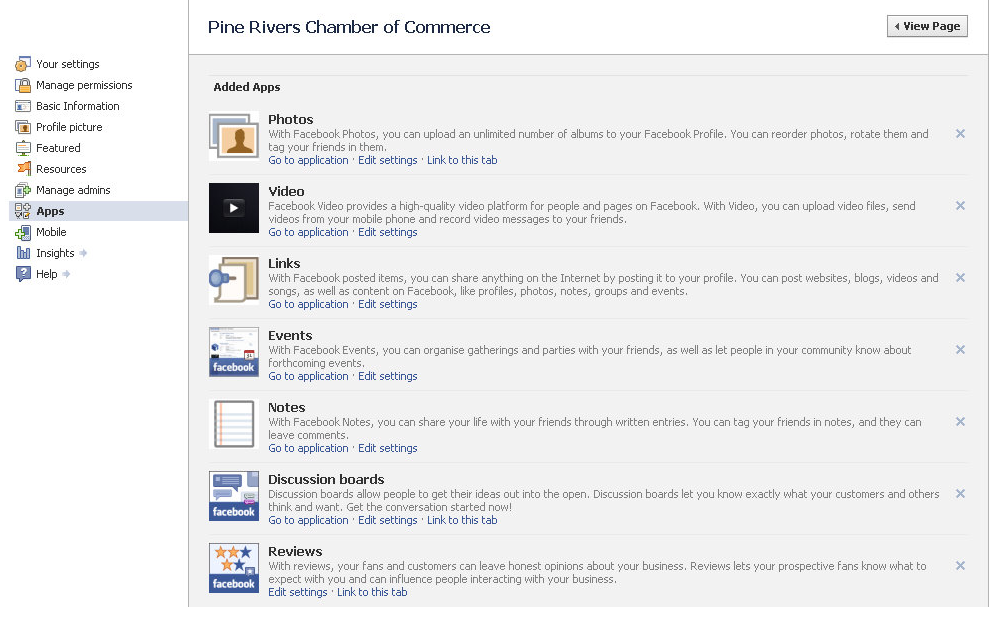
3. On this list of Apps (short for applications – mini programmes for different functions for your Facebook page), click on “edit settings” under the events heading.
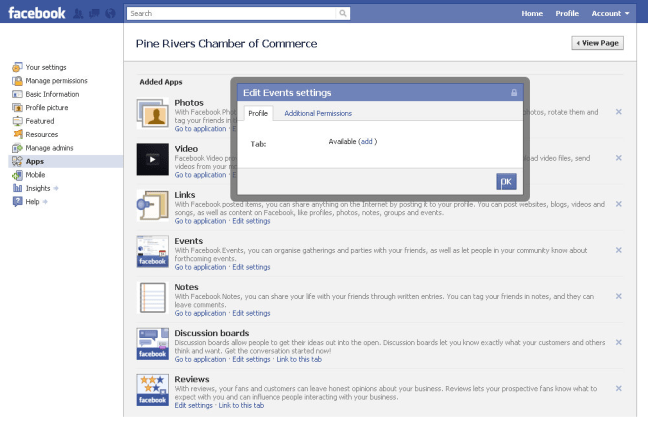
4. A pop up screen will appear with “tab – available” – click on “add” and then ok.
5. You will return to the management screen, just click on “view page” in the top right hand corner to return to the public view of your page.
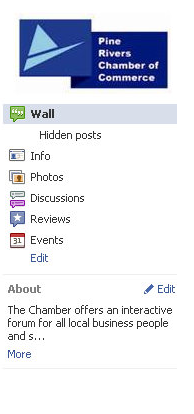
6. You will now see an “events” tab on the left hand side. You can click on this to create events (which will automatically appear on your wall when you first create them).
Good luck creating a events tab to publicise your events on Facebook!

One thought on “How to add an event tab to your Facebook Page”